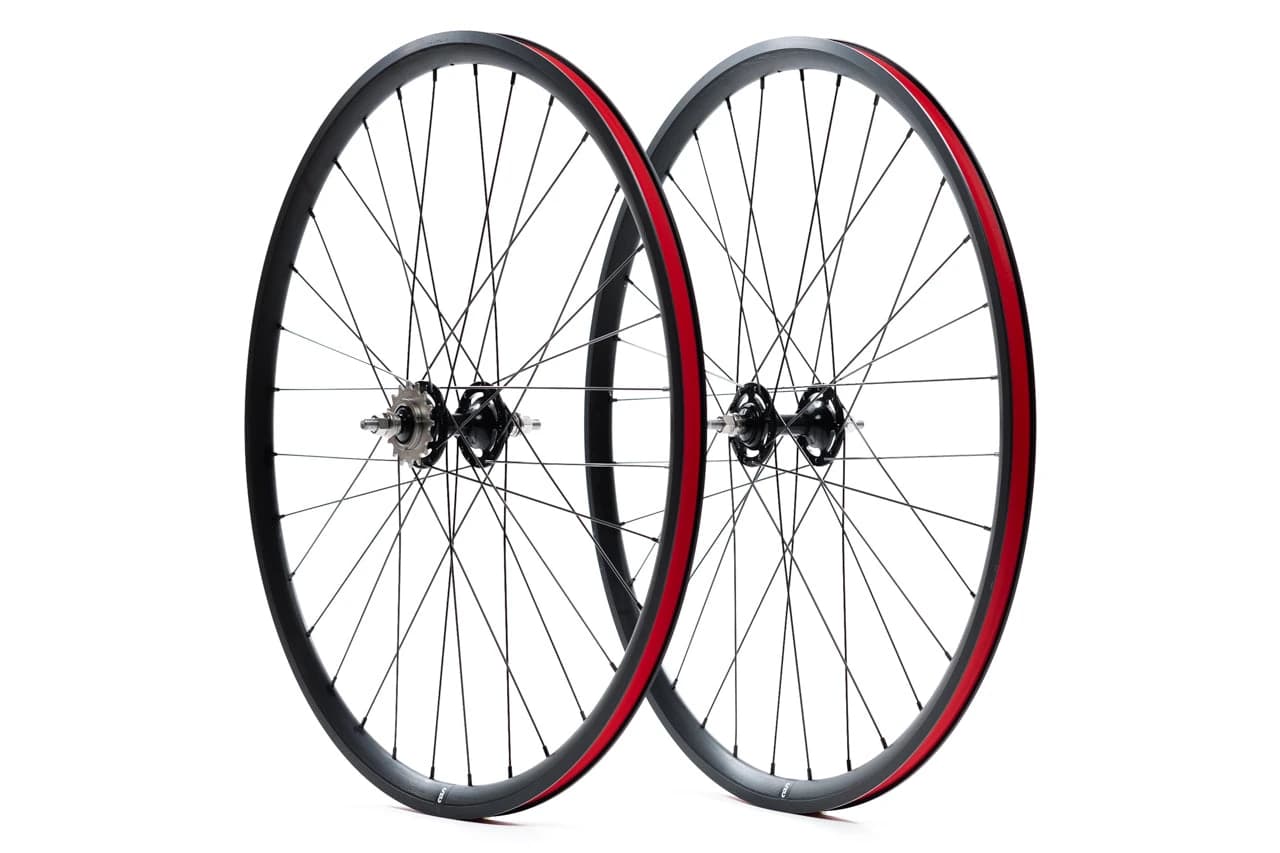
A fixed-gear wheel is not a normal single-speed wheel with the freewheel removed. The cog threads onto a stepped hub, then a reverse-threaded lockring secures it against back-driving force. That system only works when the hub fits the frame, the cog lines up with the chainring, and every thread is healthy.
This guide is about the checks to make before ordering—not pretending that one wheel fits every old track frame or converted road bike.
The five checks
| Check | Typical starting point | What goes wrong |
|---|---|---|
| Rear dropout spacing | 120mm is common on track frames | A wider hub is forced into the frame |
| Axle type and length | Solid axle with track nuts | Axle will not seat or leaves poor nut engagement |
| Cog thread | Commonly 1.37in x 24 TPI | Damaged or incompatible threads |
| Lockring thread | Commonly 1.29in x 24 TPI left-hand | Wrong lockring or no secure retention |
| Chainline | Often near 42mm on track systems | Chain runs diagonally, binds, or derails |
“Common” is not the same as guaranteed. Measure the actual frame, hub, crank, bottom bracket, and chainring position.
Measure rear spacing correctly
Remove the rear wheel and measure between the inside faces of the dropouts. Do not measure outside to outside. A track frame will often read around 120mm, while road and gravel frames commonly use wider standards.
Cold-setting a steel frame is a real frame modification, not a way to avoid buying the right hub. Aluminum and carbon frames should not be spread or squeezed to accept the wrong spacing. If the frame and hub disagree, stop and have a qualified shop inspect the combination.
Chainline is a system measurement
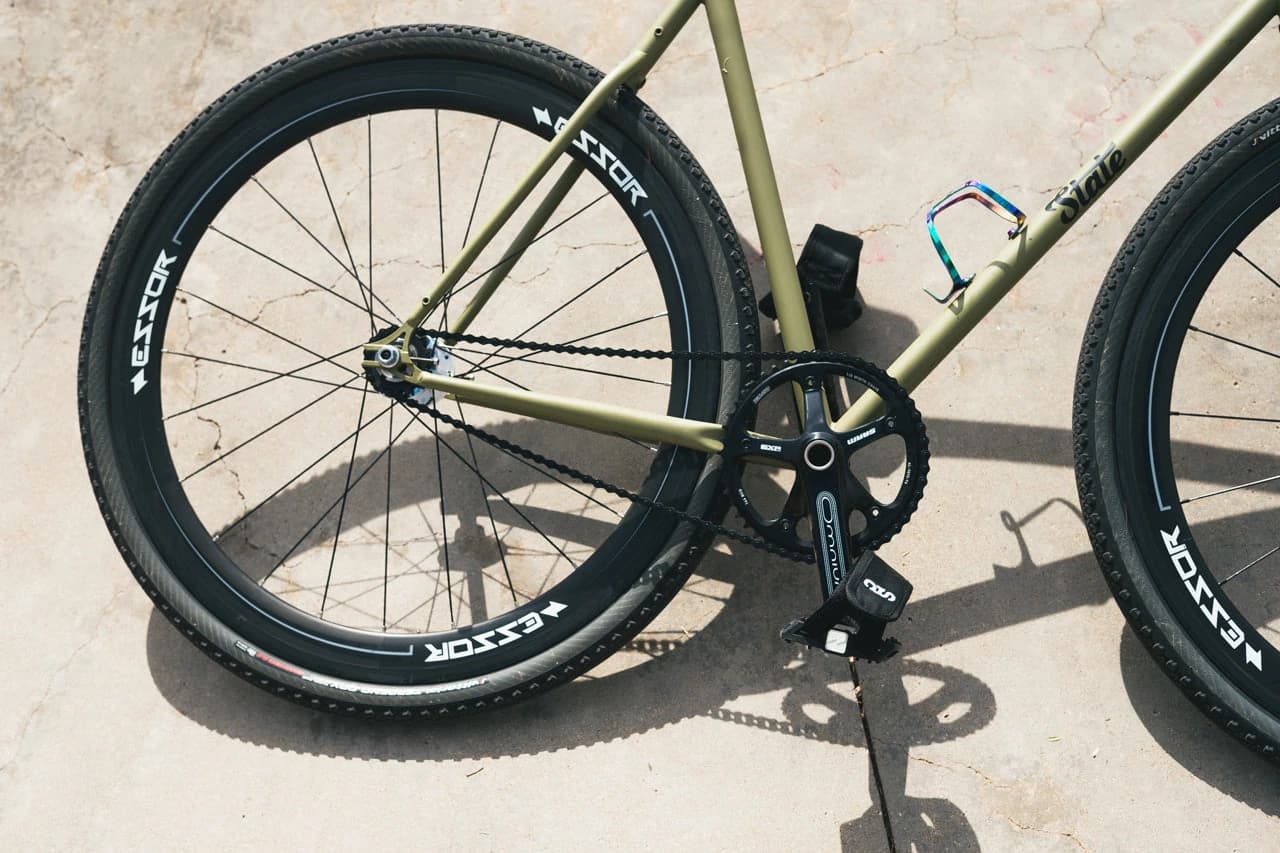
Chainline is the distance from the bicycle centerline to the center of the chainring or rear cog. The front and rear values need to be close enough that the chain runs straight.
A ruler against the frame can reveal a large error, but a caliper and straightedge give a better diagnosis. Check from known frame references, account for cog and chainring thickness, and rotate the drivetrain while looking for lateral movement.
A bad chainline can produce:
- noise that returns after every adjustment;
- tight spots and uneven chain tension;
- accelerated cog, ring, and chain wear;
- derailment under load;
- false confidence that the chain merely needs to be tighter.
Do not solve misalignment by overtightening the chain. Fixed-gear chains need a small amount of vertical movement, and the tightest point in the rotation controls the adjustment.
Why the lockring is reverse threaded
Pedaling drives the cog clockwise onto the hub. Resisting the pedals can apply force in the opposite direction. A proper fixed hub uses a smaller left-hand lockring thread so that the lockring opposes the cog's tendency to loosen.
That is why these are not equivalent:
- a fixed cog plus correct lockring on a fixed hub;
- a BMX freewheel mounted on a freewheel hub;
- a cog installed without the matching lockring;
- a lockring that bottoms out before contacting the cog.
Inspect both thread sets. If the cog or lockring rocks, skips, binds, or shows flattened threads, replace the damaged part instead of adding more leverage.
Check axle seating and retention
Horizontal dropouts allow chain adjustment, but the axle must sit fully and evenly in both slots. Track nuts need clean threads and adequate engagement. Built-in chain tensioners can help repeat placement, but they do not rescue a bent axle or mismatched dropout.
After installation:
- Set chain tension at the tightest point in the crank rotation.
- Center the rim between the stays.
- Tighten each axle nut incrementally.
- Recheck alignment and tension.
- Test the brake and drivetrain at walking speed before riding.
What to buy first
If you are building from parts, buy from the measurements outward:
- Confirm frame spacing and dropout condition.
- Select the correct hub and axle.
- Match the cog and lockring to that hub.
- Establish the rear chainline.
- Choose the crank, bottom bracket, and ring position that meet it.
Buying the crank first because it looks good can leave you chasing bottom-bracket spindle lengths and chainring offsets later.
Browse State Fixed-Gear Bikes, Wheels & Parts