A front brake on a fixed gear is not an admission that the drivetrain failed. It is an independent stopping system. If the chain breaks, the cog loosens, a foot comes out of retention, or the pavement is too slick to resist through the rear wheel, the brake still has a job.
This guide covers compatibility and setup checks, not a substitute for a mechanic. Brakes are safety-critical. If the mount, cable path, rim, fork, or hardware is questionable, have a qualified shop inspect the bike.
Start with compatibility
| Item | What to check |
|---|---|
| Fork or frame mount | Correct center-bolt mounting hole and sound structure |
| Rim | A clean, compatible braking surface—not a disc-only rim |
| Caliper reach | Pads can meet the rim without sitting at the end of their slots |
| Lever pull | Lever and caliper are designed to work together |
| Handlebar diameter | Lever clamp matches the bar at the mounting point |
| Tire clearance | Caliper and cable clear the installed tire |
| Cable routing | Smooth path with no sharp bend, tire contact, or steering bind |
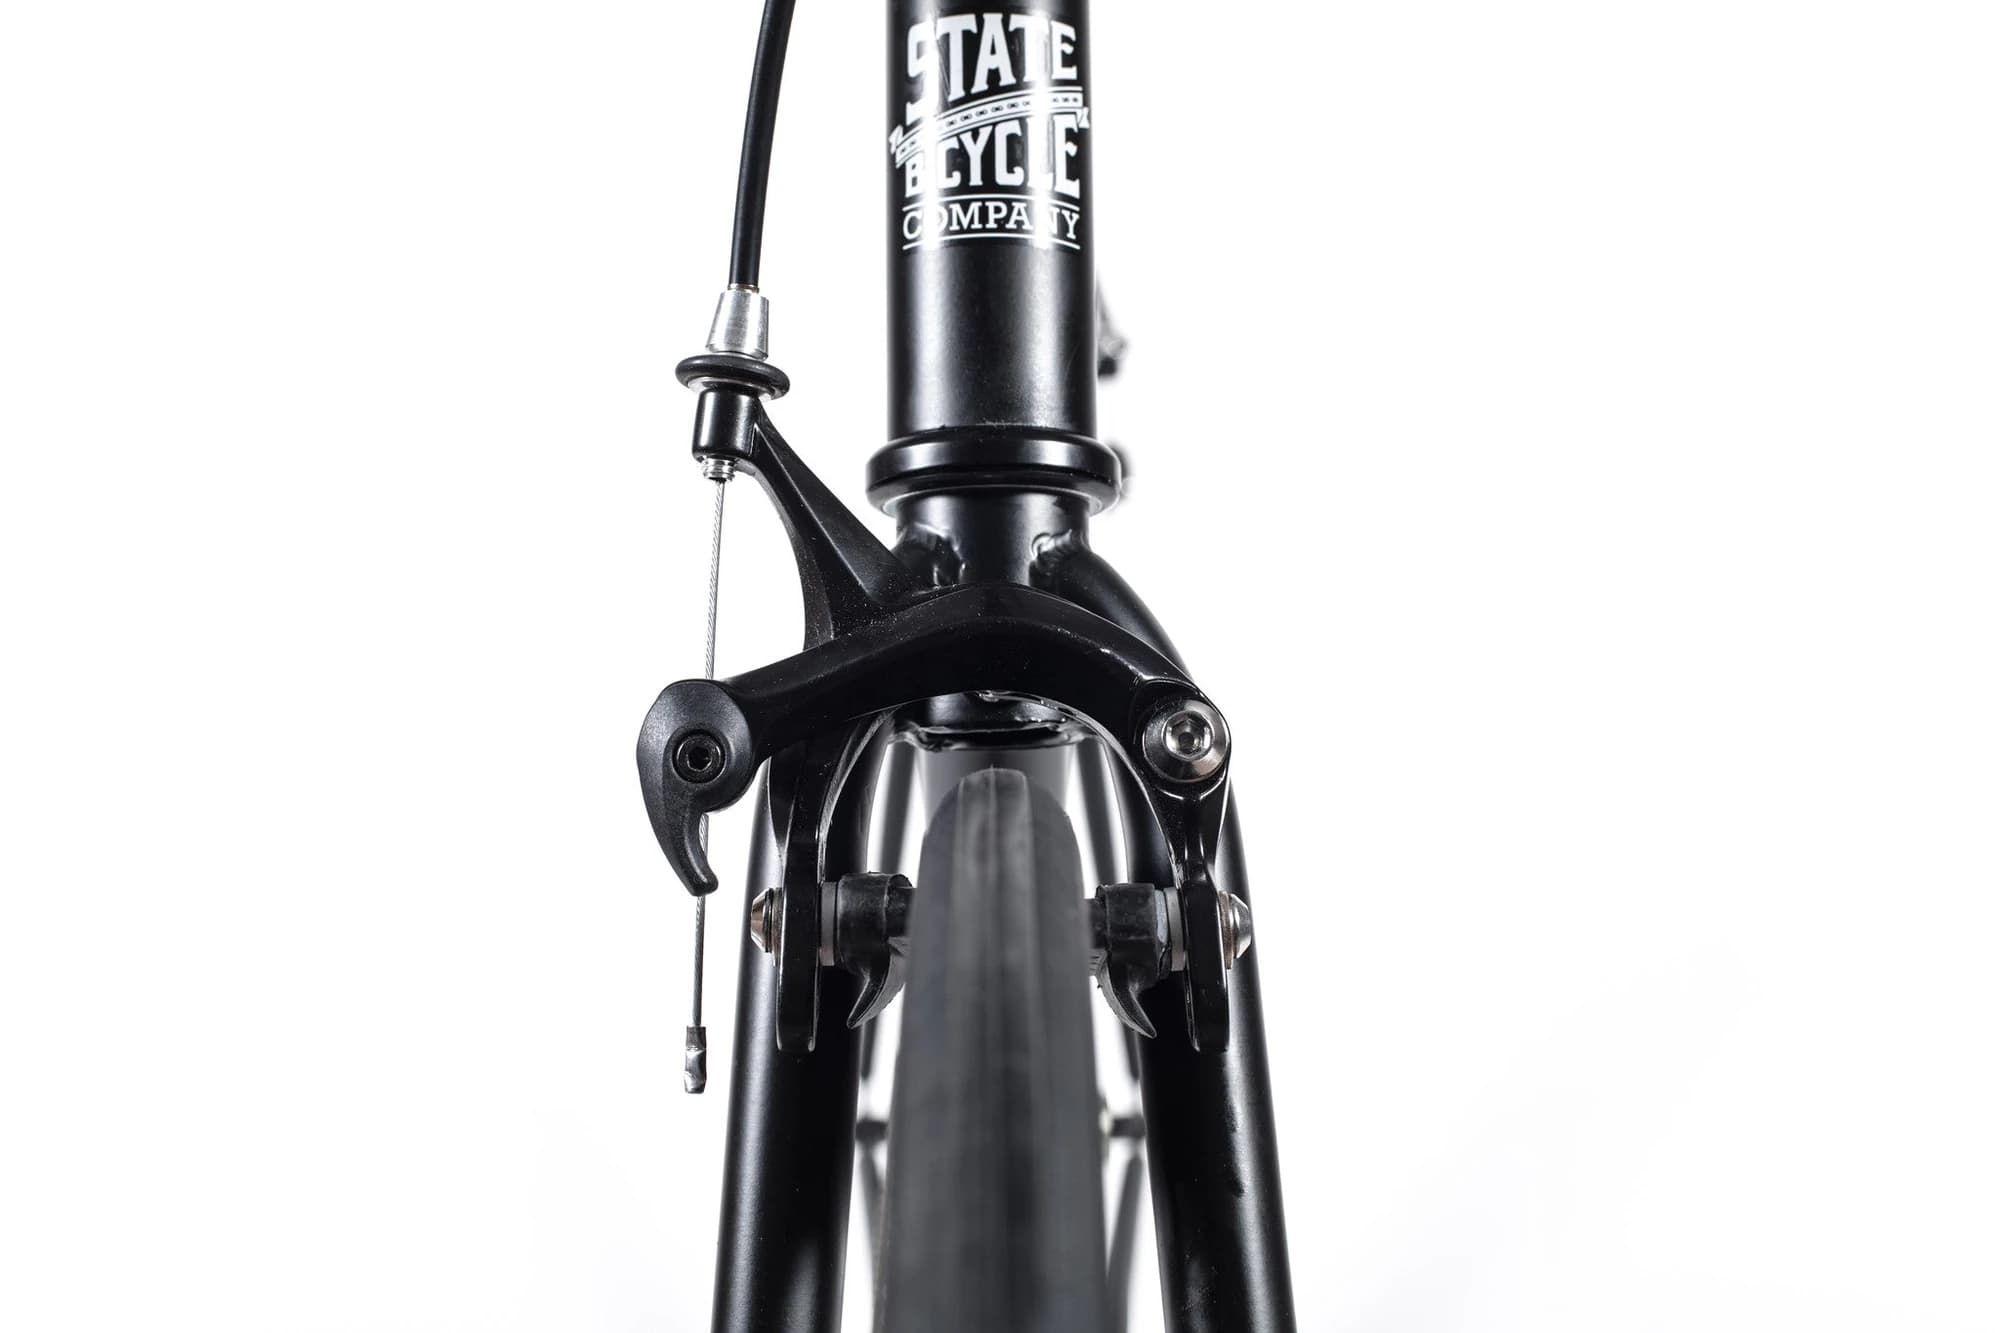
A brake labeled “road” or “fixed gear” is not enough. Measure the distance from the mounting-bolt center to the center of the rim's brake track, then compare it with the caliper's stated reach range.
Why the front brake matters most
During hard braking, weight shifts forward. The front tire gains load while the rear gets lighter, so the front wheel can provide most of the useful stopping force. Resisting the fixed drivetrain acts through the rear tire, which is why relying on leg pressure or a skid alone gives away stopping capacity.
Use smooth, progressive pressure. Grabbing a poorly adjusted front brake suddenly can lock the wheel; avoiding the brake entirely wastes the system that can stop the bike fastest.
Install the caliper without forcing it
The caliper should mount squarely and center over the rim. Use the correct recessed nut, washers, and torque from the component instructions. Do not drill a fork crown, stack improvised washers, or use a nut with only partial thread engagement to make a mismatched brake fit.
Turn the handlebars fully left and right after routing the housing. The cable must not pull the brake on, kink, rub the tire, or limit steering.
Align the pads to the rim
Each pad should contact the brake track completely:
- no pad below the track where it can touch the tire;
- no pad above the track where it can slip under the rim;
- no contact with the tire sidewall;
- no pad hanging off the front or rear edge;
- similar pad height on both sides.
Many rim brakes benefit from slight toe-in, where the front of the pad contacts just before the rear. Follow the pad or brake maker's instructions instead of guessing at an angle.
Set cable tension and lever reach
The lever should be comfortable from the normal riding grip and should not bottom against the handlebar before the brake develops firm pressure. Use the barrel adjuster for small corrections, not to compensate for a cable clamped with large amounts of slack.
After clamping the cable:
- Squeeze the lever firmly several times.
- Recheck the anchor bolt and housing seats.
- Center the caliper.
- Spin the wheel and listen for rubbing.
- Confirm the quick release, if present, is closed.
- Trim and cap the cable only after the adjustment is stable.
Bed in and test progressively
Start at walking speed in an empty area. Confirm that the brake slows the bike smoothly, then increase speed gradually. Test while seated and while standing. Recheck pad position and cable tension after the first rides because new housing and hardware can settle.
Wet rims usually take longer to respond. Painted, damaged, contaminated, or non-machined rim surfaces may brake poorly or unpredictably. Use only compatible rims and pads.
Browse State Brake Sets & Fixed-Gear Parts